A properly installed T-Grid suspension system creates a level, stable framework that supports ceiling tiles for decades. This step-by-step guide covers the entire installation process from measuring to final tile placement.
Step 1: Measure and Mark the Ceiling Height
Determine the desired ceiling height using a laser level. Mark a continuous perimeter line around all walls at this height. This line determines where the wall angle (perimeter channel) will be installed. Ensure at least 100mm clearance above the new ceiling for services access.
Step 2: Install the Wall Angle (Perimeter Channel)
Fix the GypExim wall angle along the marked perimeter line using rawl plugs and screws at 300mm intervals. Ensure the angle is perfectly level — any deviation here will affect the entire ceiling plane. Cut and join at corners using tin snips.
Step 3: Install Suspension Wires / Hangers
Drill into the concrete slab and install expansion anchors. Attach galvanized suspension wires at maximum 1200mm intervals along main runner lines. The wire length should be pre-cut to match the ceiling drop height, leaving adjustment room.
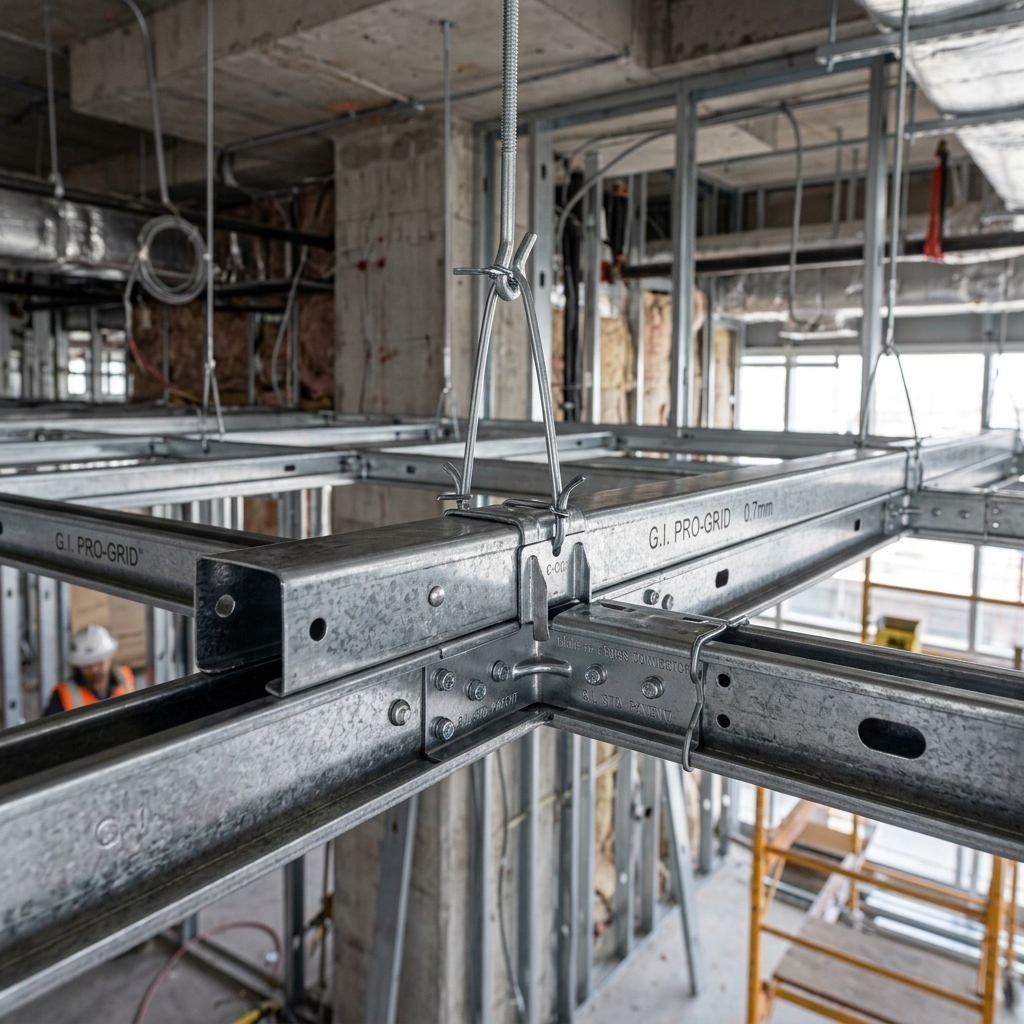
Step 4: Hang the Main Runners (Main T-Bars)
Clip the main T-bars onto the suspension wires. Main runners typically run perpendicular to the joists, spaced at 1200mm centers. Use a laser level to ensure all runners are perfectly level and co-planar. Adjust wire lengths as needed.
Step 5: Insert Cross Tees
Snap the 1200mm and 600mm cross tees into the pre-punched slots on the main runners. This creates the grid pattern — typically 600×600mm or 600×1200mm modules — that will receive the ceiling tiles.
Step 6: Place the Ceiling Tiles
Angle each tile through the grid opening and lower it gently onto the T-bar flanges. Start from the center of the room outward. Cut border tiles to fit using a sharp utility knife for gypsum tiles or a fine-tooth saw for mineral fiber tiles.
Installation Warning:
Never walk on or apply pressure to suspended ceiling tiles. The grid system is designed to support tile weight only, not human loads.Conclusion: A professional T-Grid installation requires precision at every step. Use GypExim T-Grid components for guaranteed dimensional accuracy and long-term structural integrity.