A perfectly smooth ceiling or partition wall depends on the final application of drywall joint compound. Minor mistakes lead to shrinkage cracks and visible seams after painting.
Achieving a level 5 monolithic wall finish requires patience, high-quality compound, and the correct application technique. Here is a step-by-step guide from GypExim specialists.
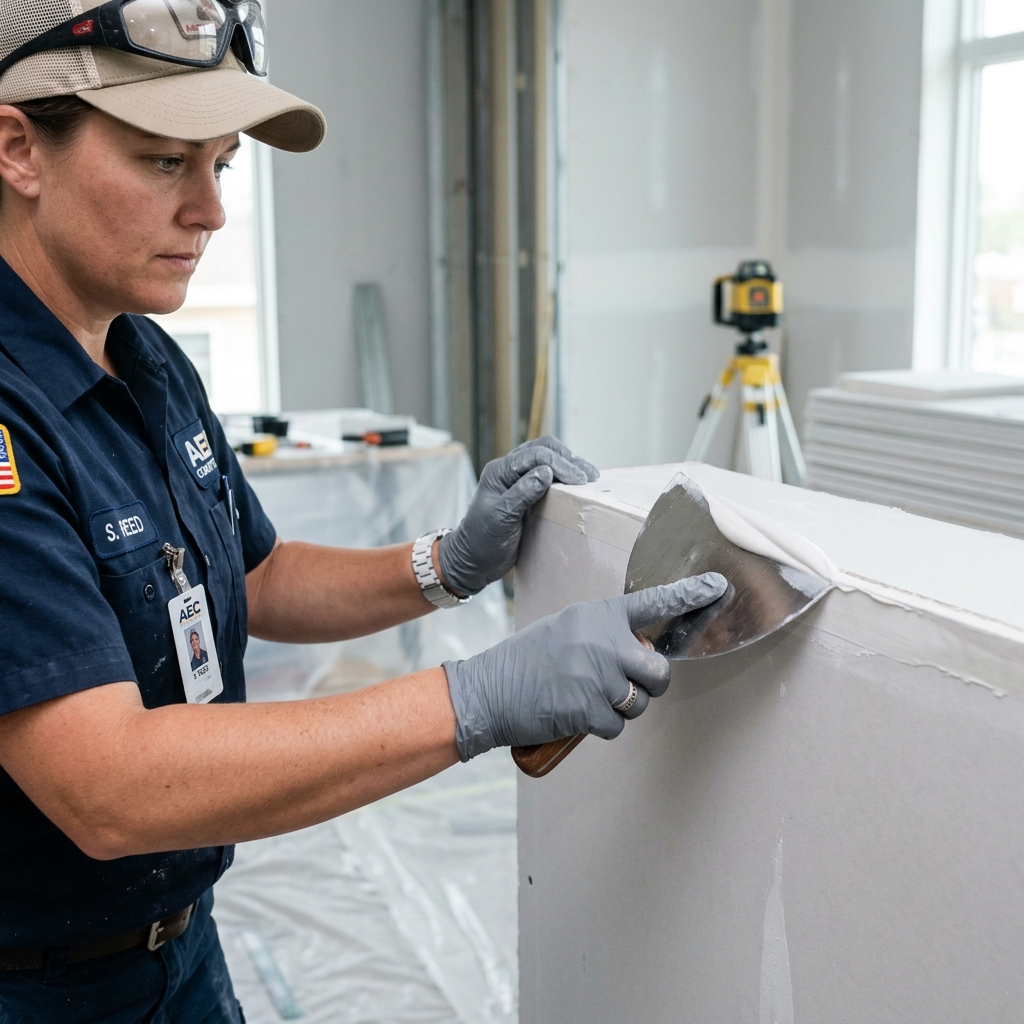
Step 1: Embedding the Joint Tape
Spread a uniform first layer of joint compound over the plasterboard seam. Immediately press GypExim fiber or paper joint tape into the wet mud along the joint. Run a clean taping knife over it to squeeze out extra compound and air bubbles, securing the tape.
Step 2: Applying the Bedding Coat
Once the embedding coat is dry, apply a wider second coat of jointing compound. This bedding coat hides the tape and levels the joint. Use a wider spatula knife to feather the edges, blending the compound smoothly into the plasterboard face.
Step 3: The Finishing Coat
Apply a third, very thin finishing coat. This coat fills any remaining tiny pinholes or micro-imperfections. Extend the feathering edges even further outward. Remember, multiple thin coats shrink less and dry much flatter than one thick coat.
Step 4: Sanding for a Seamless Finish
After the compound has dried completely (usually 24 hours), sand the surface using fine 120-grit or 150-grit drywall sanding mesh. Sand gently with circular motions to avoid gouging, then wipe away dust before applying primer.
Pro Tip:
Never mix dry jointing powder with dirty water. Contaminants can cause the compound to crack, bubble, or dry unevenly.Summary: Perfect joints are the difference between a cheap DIY wall and a professional commercial install. Use GypExim jointing compounds and joint tapes for a crack-free finish that stands the test of time.